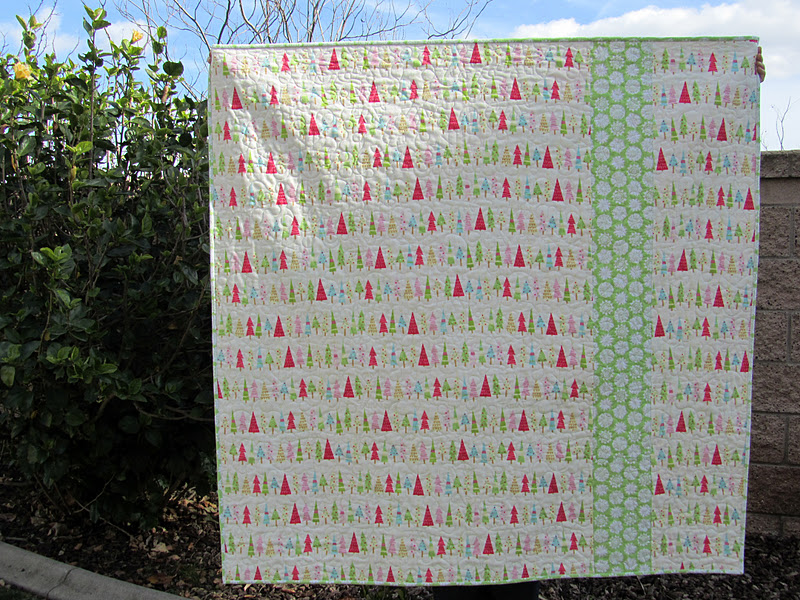
Hi Friends! I hope everyone is having a fantastic week. I just wanted to pop in, as Thomas and I were hard at work last night finishing up my new (and very large!) design wall! I had mentioned that I wanted to build one, and Thomas made me one for Valentine's Day. He is great, isn't he? :)
The design wall measures approximately 6' x 6', is made with foam insulation, and attached to a wood frame. Thanks to the design wall, I no longer have to lay out my quilts on the floor and subsequently block the sewing room off from the dogs with a baby gate (why is is that they always want to lay on whatever I'm working on!?!).
You may notice as well, that I've rearranged the sewing room a bit. I moved some of the larger furniture out to accommodate the design wall, that and the small room was feeling way to claustrophobic! One day when I'm not creating, and my studio is clean, I'll post a photo of the new layout for your viewing pleasure! :)
LA Quilt Shops Part 2: The Urban Craft Center
February 23, 2012
After leaving Sew Modern in West LA, Stephanie, Kristin, and I made a quick drive to The Urban Craft Center in Santa Monica. A month or so ago Thomas and I were in Santa Monica, as we had tickets for Ovo. I had read about The Urban Craft Center online, and so we stopped in to take a look. I fell in love with the store, and thought it would be a hit with Stephanie and Kristin (lucky Kristin, she actually lives close enough to take their classes!).
One of my favorite things about The Urban Craft Center is that it is a one-stop shop for all of your crafting needs. They teach and embrace all sorts of crafts, which is such a wonderful outlook!
Stephanie and I surrounded by beautiful fabrics. The Urban Craft Center doesn't have a ton of fabric, but what they do have is great. They have a lot of Japanese fabrics, a couple Moda lines, and all of the Amy Butler fabrics were on sale!
The Urban Craft Center is big on classes, which I love! Saturday they were having a paper making class (pictured above). They offer knitting, sewing, embroidery, soap making, bookbinding, and Yudu Screen Printing classes (just to name a few!).
Last but not least, this is their yarn, felt, and book section. I wish I was a bit more handy with my crochet hooks, as they had yarns in such gorgeous colors!
LA Quilt Shops Part 1: Sew Modern
February 22, 2012
I'm so excited to share snippets of my trip to LA with you! Early Saturday morning I jumped on the freeway, headed west, to meet up with Stephanie, a fellow Creative Consultant, and her sister Kristin! I had met Kristin before, as she was at The Quilted Fish's Fabric Launch Party in October, however this was the first time meeting Stephanie (after months and months of emailing back and forth!). Our first stop was Sew Modern,in West LA.
Sew Modern is a relatively new store, as they just celebrated their one year anniversary!
The quaint (and very useful!) sitting area. The perfect place for husbands and children! :)
The store was stocked with beautiful fabrics, and also had a very abundant sale section (my favorite!!!). After being surrounded by old lady quilt shops, the vibrant fabric prints and colors was definitely a breath of fresh air! :)
Sew Modern also has all 214 colors of Kona Cotton, which is something I've never witnessed before! I just started using solids in my quilts, and love that the shop has so many bolts to play with!
This is a photo from the back of the store, looking towards the front. There is a long arm quilting machine behind me, and the green desk with sewing machines is where the classes are held.
Stephanie and I! I'm so thankful that we had the opportunity to meet up. If only we lived closer...
I spotted this mustache fabric and absolutely fell in love! You may recall that for Christmas I made a leather mustache pillow, and now I will be making a mustache quilt for Thomas as well! I am going to use the pattern that the orange quilt (second photo) was made from, which is available in the Spring issue of Quilts and More magazine. I will be using orange sashing, the rectangles and large squares will be the mustaches, and I think I'll be using Moda's black Pezzy Print for the small squares. I'm excited for this quilt, and can't wait to get started!
Come back tomorrow morning, as I'm preparing a write up on the second quilt shop we visited, The Urban Craft Center in Santa Monica, CA!
Pick-a-Bunch Quilt Top- Finished!
February 21, 2012
I picked up a Robert Kaufman Pick-a-Bunch Jelly Roll at Quilt Market last spring, and finally cut into it. This is the first pre-cut I've ever purchased, as I really like yardage- ha! You may remember me mentioning that I was going to use this tutorial for the Pick-a-Bunch Jelly Roll. Well folks, I started to use the Random Reflections tutorial, but just wasn't happy with how it was turning out. So, I cut my losses and re-cut the Jelly Roll pieces per this tutorial!

Initially the 80 small squares were a breeze to make, however the tutorial presses all of the seams the same way, which made making the larger squares (combo of 4 small squares) time consuming. I have a three times maximum rule, where if the seams do not line up after sewing the first time (even if its off just a bit!), I unpick that portion and allow myself re-sew the seam up to two additional times. For better or for worse the seam is staying where it is after sewing it for a third time! :)
The Jelly Roll yielded 64 small squares, which would made up a smaller quilt top than I had wanted. I picked up a six or so additional 1/8th yard cuts of Pick-a-Bunch and cut my own 2.5" strips to make the quilt top larger. I'm happy with the size! I need to piece the back and make an appointment to quilt this pretty little project!

Initially the 80 small squares were a breeze to make, however the tutorial presses all of the seams the same way, which made making the larger squares (combo of 4 small squares) time consuming. I have a three times maximum rule, where if the seams do not line up after sewing the first time (even if its off just a bit!), I unpick that portion and allow myself re-sew the seam up to two additional times. For better or for worse the seam is staying where it is after sewing it for a third time! :)
The Jelly Roll yielded 64 small squares, which would made up a smaller quilt top than I had wanted. I picked up a six or so additional 1/8th yard cuts of Pick-a-Bunch and cut my own 2.5" strips to make the quilt top larger. I'm happy with the size! I need to piece the back and make an appointment to quilt this pretty little project!
Outfoxed + Be Merry
January 30, 2012
It's not quite the end of January and I have already finished two quilts! (Its hard to believe as I'm usually such a procrastinator and its not abnormal for quilts to sit months/years before getting around to bind them.)
The first quilt is a fun baby quilt, made using Lizzy House's Outfoxed fabric collection, and my tutorial (although since the quilt was for a baby boy I simply omitted the circles and ric rac!).
I chose the main fox print for the back of the quilt, as this quilt was made for a very special little boy. My friends just adopted a baby boy whose middle name is Fox, which is his mom's grandma's maiden name (following me?). With that, I took one glimpse of the Outfoxed fabric and knew that I had to make him something special. :)
Close up of the quilting, done by me! :)
The second quilt is a fun lap quilt, made with Riley Blake's Be Merry Christmas fabric line (circa 2009), and The Quilted Fish's Sassy Squares No. 2 quilt pattern.
The backing is flannel, and the quilt was quilted with white snowflakes!
I have two more quilts in the works, and hope to be able to share completed versions with you in the near future! I'm using this tutorial for one of the quilts, using Robert Kaufman's Pick a Bunch fabric collection, and this fun tool for the other quilt, using Riley Blake's So Sophie fabric collection.
Are you working on any quilts? If so, I would love to hear about them! :)
Subscribe to:
Posts (Atom)